Irresistible Apple Butter Cheesecake Recipe Youll Love
Apple Butter Cheesecake
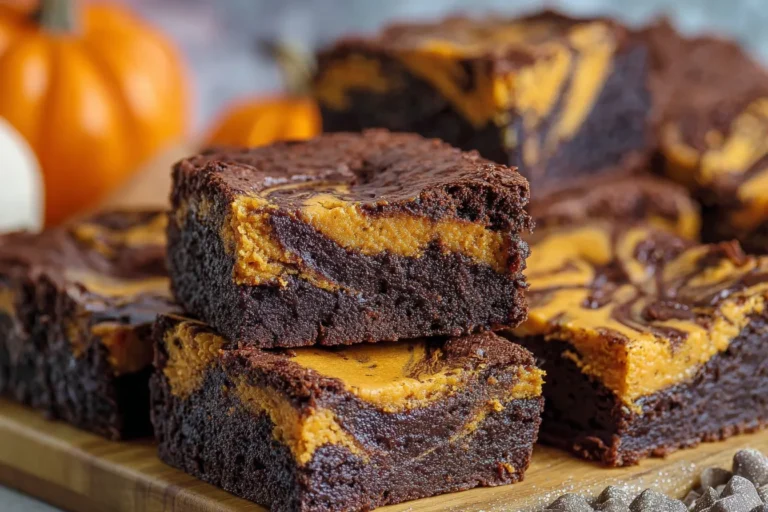
Have you ever found yourself yearning for a dessert that’s as comforting as your favorite fall sweater? If you’re like me, the mere mention of apple butter conjures up memories of crisp autumn days, warm spices, and cozy gatherings. That’s exactly where this Apple Butter Cheesecake comes in—a dessert that encapsulates the essence of the season in every bite. Not only does it satisfy your sweet tooth, but it also offers a unique twist to the classic cheesecake recipe, perfect for busy people who want to impress without spending hours in the kitchen.
Why You Will Love This Apple Butter Cheesecake
Imagine getting home after a long day, ready to unwind, and the only thing standing between you and relaxation is a dessert that doesn’t require any complicated steps. This Apple Butter Cheesecake promises a simple preparation process and an unforgettable flavor. The creamy mixture of cream cheese and rich apple butter creates a harmony of taste that resonates with the comfort of home.
Not only does this cheesecake taste divine, but it also allows you to incorporate seasonal ingredients, making it a perfect choice for Thanksgiving gatherings or cozy family dinners. Plus, with only a few key ingredients, it won’t deplete your energy or take too much time away from your evening. It’s the ideal way to treat yourself without the fuss!
This recipe is not just about flavor; it’s about creating moments. Whether you’re hosting a get-together or simply enjoying a quiet evening at home, this cheesecake enables you to indulge guilt-free. Trust me; the delightful fusion of apple butter and cream cheese will make it an instant favorite!
Practical Tips / Cooking Tips
- Room Temperature Ingredients: Ensure that your cream cheese is at room temperature before mixing. This will help achieve a silky-smooth texture and prevent any lumps in your cheesecake.
- Don’t Overmix: Once you add the eggs, mix just until incorporated to avoid incorporating too much air, which can lead to cracking in the cheesecake.
- Chill Before Serving: For the best flavor and texture, let the cheesecake chill in the refrigerator for at least 4 hours, preferably overnight. This allows the flavors to meld beautifully.
- Use a Water Bath: If you want an ultra-creamy texture, consider using a water bath. Place your cheesecake pan inside a larger pan filled with water to create a gentle cooking environment.
Nutritional Value / Health Benefits
This Apple Butter Cheesecake is not just an indulgence; it also offers a few nutritional benefits. Apples are a great source of dietary fiber, which supports digestive health. Additionally, apple butter is rich in antioxidants, vitamins A and C, contributing to overall health.
While cheesecake may not be the first dessert that comes to mind when considering healthy options, enjoying a slice in moderation can still fit into a balanced diet. Moreover, you have the option to make substitutions for a lighter version, such as using Greek yogurt instead of cream cheese or opting for a whole grain crust.
Remember, moderation is key! A small slice of this cheesecake can satisfy your dessert cravings while also providing some nutritional perks.
<img src="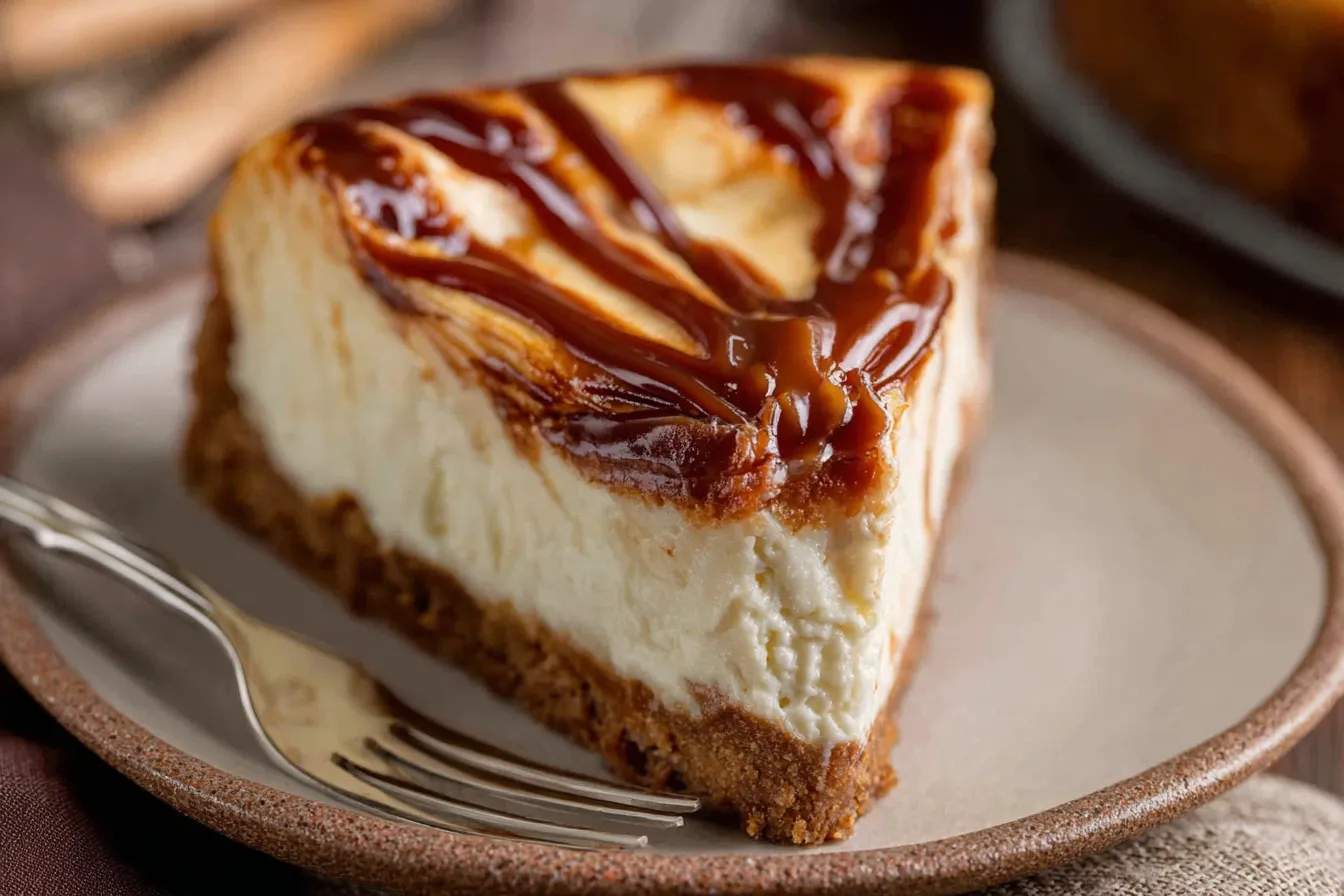 ” alt=”Delicious Apple Butter Cheesecake”>
Recipe Overview
Ingredients (with substitution options in table format)
| Ingredient | Substitution Options |
|---|---|
| 8 oz cream cheese | Greek yogurt |
| 1 cup apple butter | Homemade apple butter or spiced applesauce |
| 3/4 cup sugar | Raw honey or maple syrup |
| 2 eggs | 1/2 cup of unsweetened applesauce as an egg replacer |
| 1 tsp vanilla extract | Almond extract |
| 1 cup graham cracker crumbs | Oats or crushed nuts (for a gluten-free option) |
| 1/4 cup butter, melted | Coconut oil or applesauce (for a lighter crust) |
Instructions (step-by-step with cooking tips)
Now that you’ve gathered your ingredients, let’s get cooking! Follow these simple steps to bring your Apple Butter Cheesecake to life:
- Preheat your oven: Set your oven to 350°F (175°C) to preheat while you prepare your cheesecake.
- Prepare the crust: In a mixing bowl, combine the graham cracker crumbs and melted butter until the mixture resembles wet sand. Press it into the bottom of a 9-inch springform pan to form an even crust.
- Mix the filling: In another large bowl, beat the cream cheese and sugar until creamy and smooth. Add the apple butter, vanilla extract, and eggs one at a time, mixing until just incorporated. Be careful not to overmix!
- Pour filling into crust: Carefully pour the cheesecake filling over the prepared crust, smoothing out the top with a spatula.
- Bake the cheesecake: Place the cheesecake in the preheated oven and bake for 45-50 minutes, or until the edges are set and the center has a slight jiggle.
- Cool down: Turn off the oven and slightly crack the door open, allowing the cheesecake to cool gradually for about an hour. This helps prevent cracking.
- Chill in the fridge: Once cooled, place the cheesecake in the refrigerator and let it chill for at least 4 hours, or overnight for best results.
- Serve: Carefully remove the sides of the springform pan, slice, and serve chilled. Optionally, top with whipped cream or additional apple butter for a delightful finish.
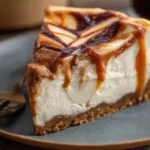
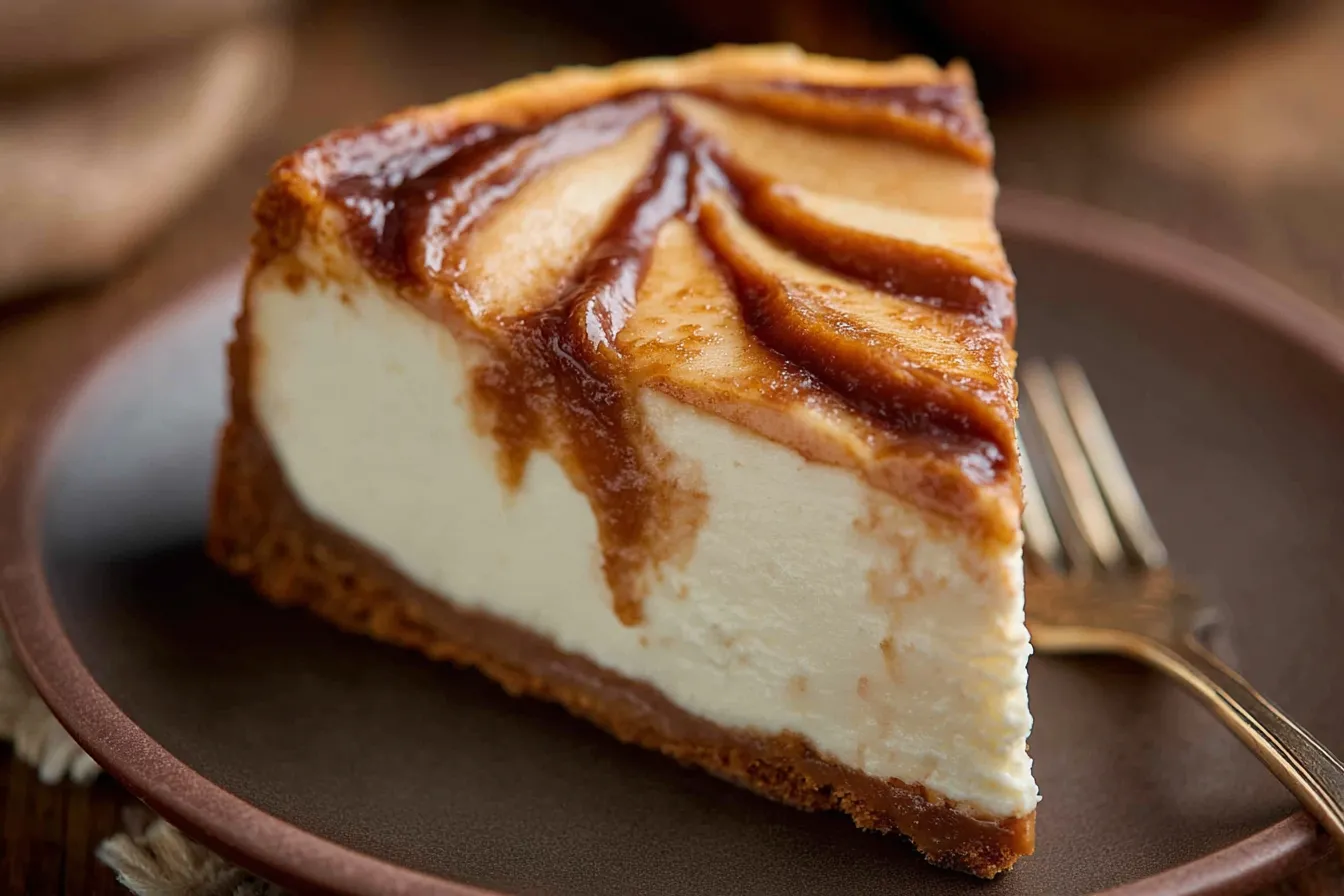 ” alt=”Sliced Apple Butter Cheesecake”>
FAQ
Can I use a different type of apple butter?
Absolutely! You can use homemade apple butter or even store-bought varieties. Just ensure it’s unsweetened if you want to control the sugar content.
How do I know when the cheesecake is done?
The edges of the cheesecake should be set but the center should still have a slight jiggle when you gently shake the pan. It will continue to firm up as it cools.
Can I freeze this cheesecake?
Yes! You can freeze the cheesecake for up to 2 months. Wrap it tightly in plastic wrap and then in aluminum foil before placing it in your freezer. Thaw it in the refrigerator overnight before serving.
What can I serve with this cheesecake?
This cheesecake pairs wonderfully with a dollop of whipped cream, caramel sauce, or a sprinkle of cinnamon. Fresh apple slices can also add a nice touch!
Conclusion
Your journey to crafting the perfect Apple Butter Cheesecake is not just a culinary adventure—it’s an opportunity to create memorable moments around the table. With its creamy texture and delightful apple flavor, this cheesecake is sure to become a crowd-pleaser at any gathering. Don’t hesitate to personalize it even further with your favorite toppings or by making small ingredient swaps.
If you enjoyed this recipe, I encourage you to share your creations with friends and family! Remember, the best part of cooking is sharing your delicious treats with others. Happy baking!
<img src=" ” alt=”Apple Butter Cheesecake with Toppings”>
Print
” alt=”Apple Butter Cheesecake with Toppings”>
PrintIrresistible Apple Butter Cheesecake Recipe Youll Love
Indulge in this irresistible apple butter cheesecake recipe Experience creamy layers and spiced flavors that will have you coming back for more
- Prep Time: 20 minutes
- Chilling: 4 hours
- Cook Time: 50 minutes
- Total Time: 4 hours 20 minutes
- Yield: 8 servings 1x
- Category: Dessert
- Method: Baking
- Cuisine: American
Ingredients
Instructions
Nutrition
- Serving Size: 1 slice
- Calories: 350 calories
- Sugar: 25 grams
- Fat: 20 grams
- Saturated Fat: 20 grams
- Carbohydrates: 40 grams
- Fiber: 2 grams
- Protein: 5 grams